Delving into Global Sustainability Insights
Expert Insights on Sustainability and Global Development
Sustainability Insights delivers credible and professional perspectives on sustainability, climate, energy, and development, emphasizing globally-conscious values and a thoughtful editorial approach.
Expert Analysis on Sustainability Challenges
Explore critical data that illuminates progress in sustainability, energy, and development initiatives.
188
Global Reach
Tracking worldwide engagement to measure our impact on sustainable development goals.
350
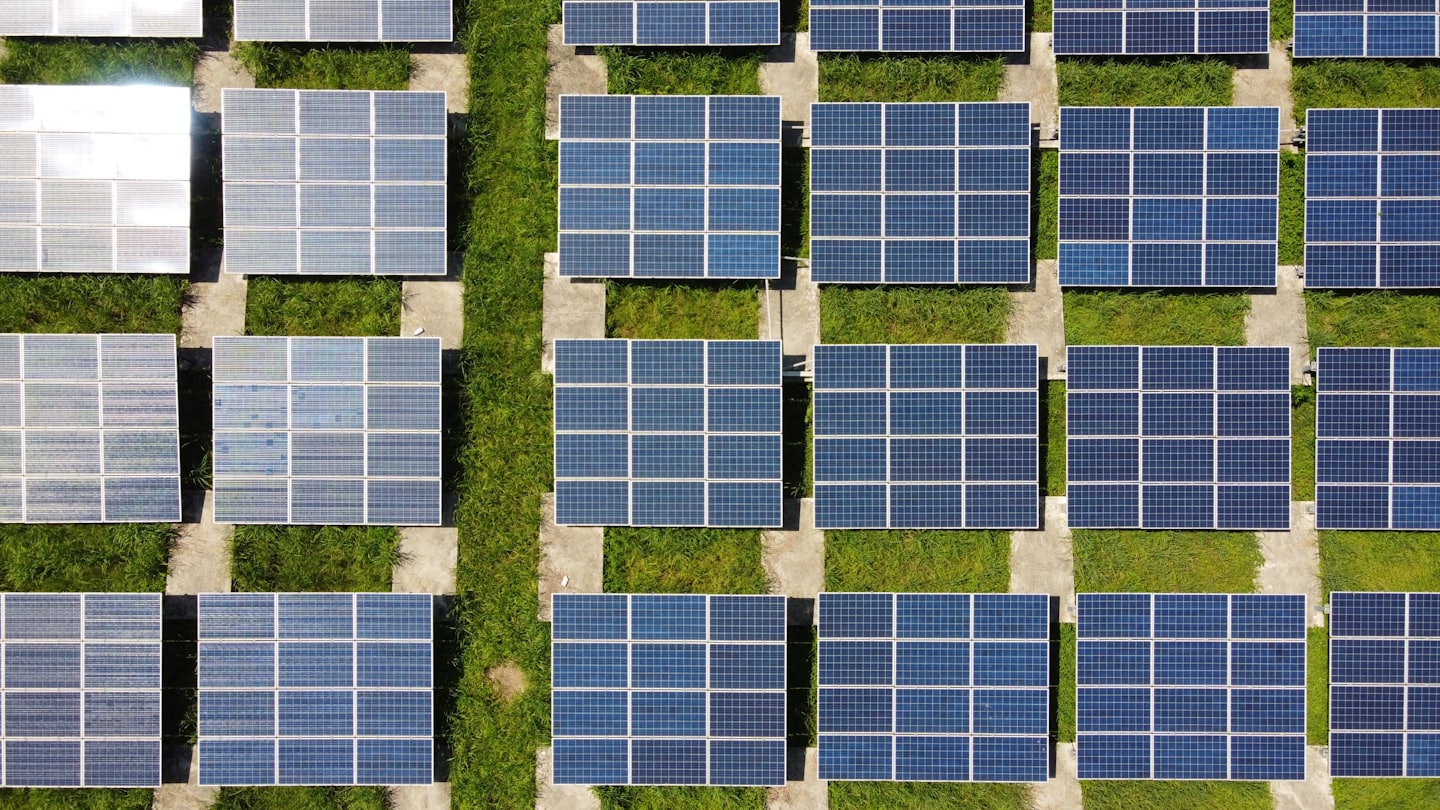
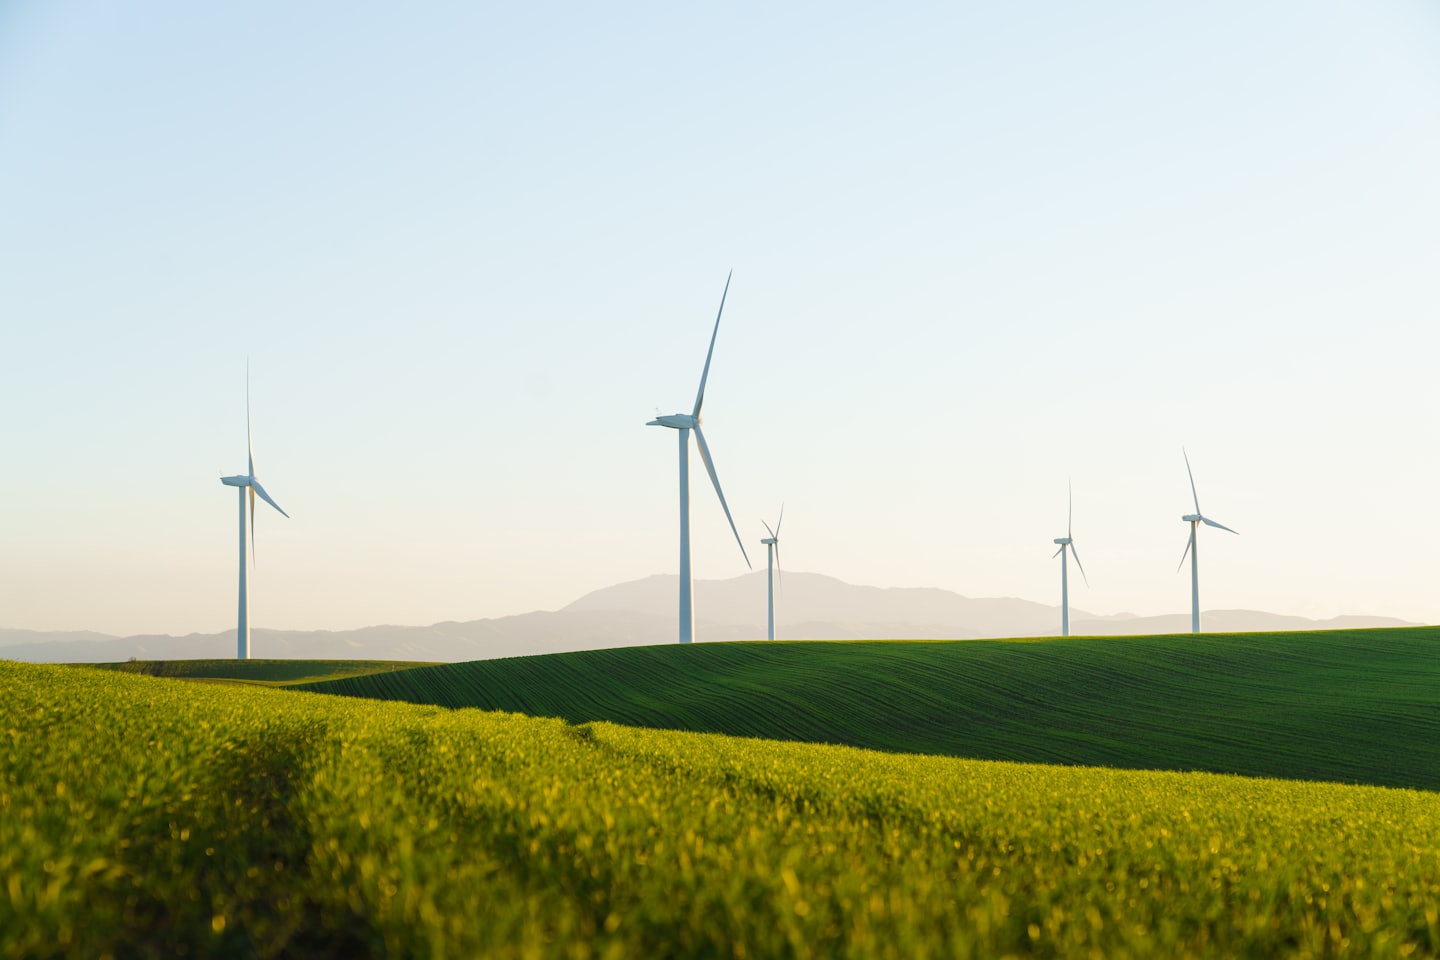
Energy Innovation
Highlighting breakthroughs in renewable energy adoption and efficiency advancements.
420
Climate Impact
Demonstrating measurable reductions in carbon emissions through informed strategies.
Insights
Explore a curated collection of expert articles and detailed analyses designed to deepen your understanding of sustainability and global development challenges.
-
Common Water Quality Issues in Rural Homes on Private Wells
Rural homes on private wells often deal with sediment, iron, sulfur odor, hard water, bacteria,…
-

Why Credible Insights Matter in Sustainability Discussions
Credible insight matters in sustainability discussions because this field is crowded with claims that sound…
-
The Science Behind Climate Change Explained
The science behind climate change is not built on one chart, one storm, or one…
Trusted Insights on Sustainability Challenges
Join our community to stay informed on climate and energy innovations. Subscribe for expert analysis and access to in-depth reports tailored for global impact professionals.
Insightful Perspectives on Global Sustainability
Discover expertly curated materials to advance your knowledge in climate, energy, and development sectors.
Sustainability Fundamentals
Gain a clear understanding of core sustainability principles and practices.

Climate and Energy Dynamics
Examine innovative approaches and emerging trends in environmental policy and energy.

Global Development Challenges
Uncover key issues and solutions shaping sustainable development worldwide.